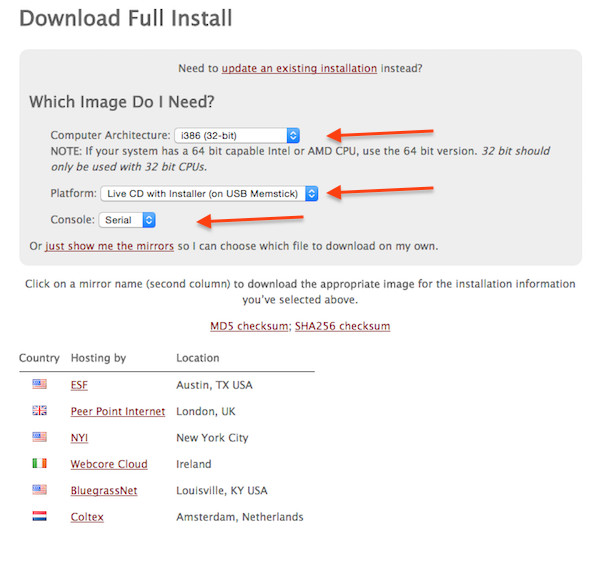
Visit
this page to grab the correct version:
Type the following wget command:
$ wget wget http://files.uk.pfsense.org/mirror/downloads/pfSense-memstick-serial-2.2.4-RELEASE-i386.img.gz
$ wget https://files.pfsense.org/hashes/pfSense-memstick-serial-2.2.4-RELEASE-i386.img.gz.md5
$ ls
$ md5sum -c pfSense-memstick-serial-2.2.4-RELEASE-i386.img.gz.md5Sample outputs:
-rw-r--r--  1 vivek  staff  99324384 Jul 27 04:32 pfSense-memstick-serial-2.2.4-RELEASE-i386.img.gz
-rw-r--r--  1 vivek  staff        91 Jul 27 04:34 pfSense-memstick-serial-2.2.4-RELEASE-i386.img.gz.md5
pfSense-memstick-serial-2.2.4-RELEASE-i386.img.gz: OK
Step 2: Wrtie pfSense memstick image
Use the dd command as follows as root user:
# gzip -dc pfSense-memstick-serial-2.2.4-RELEASE-i386.img.gz | dd of=/dev/sdc bs=1M
Step 3: Boot from a usb stick/pen
I've attached both bookable USB pen and hard disk to my Dell laptop. Turn on the laptop. Press F12 to select boot menu (check your bios settings for more info). Select USB storage device:
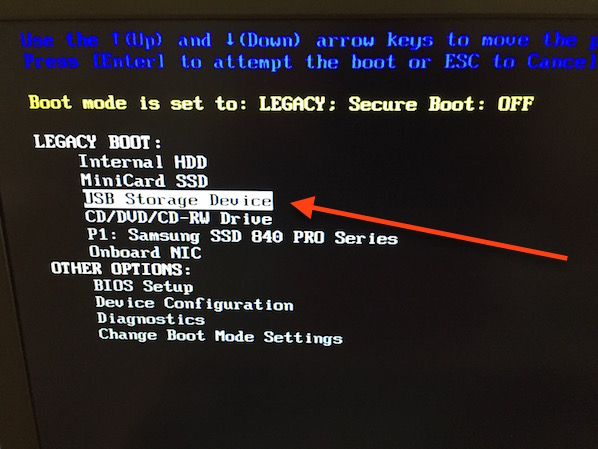
Fig.02: USB storage boot mode
Step 4: Installation
pfSense will start installation from a USB pen. You will be prompted as follows to start an installer:
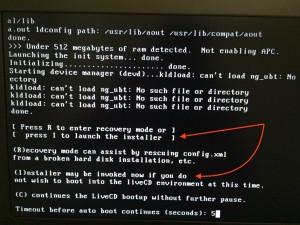
Fig.03: Press i to invoke the installer now (click to enlarge)
Next accept the console settings (or change it as per your need):
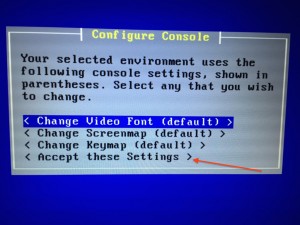
Fig.04 The installer console can be changed to use a different font, screenmap, or keymap (click to enlarge)
At the Select Task prompt, choose "Custom Install". If you select "Quick/Easy Install", the installer will install pfSense on the first located disk. I've multiple disk in my laptop. So I selected the "Custom Install" option:
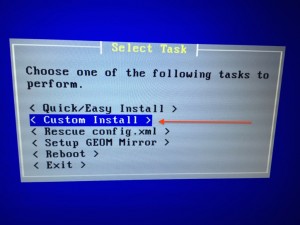
Fig. 05: Select task as "Custom Install" (click to enlarge)
Finally, select a disk. I'm going to install it on my WDC-160 GB SATA 2.5 hard disk which is connected to my laptop via an external USB universal drive adapter:
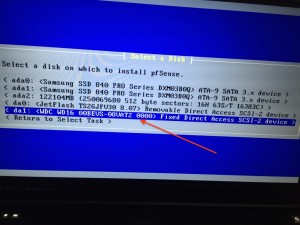
Fig. 06: Select a disk to install pfSense (click to enlarge)
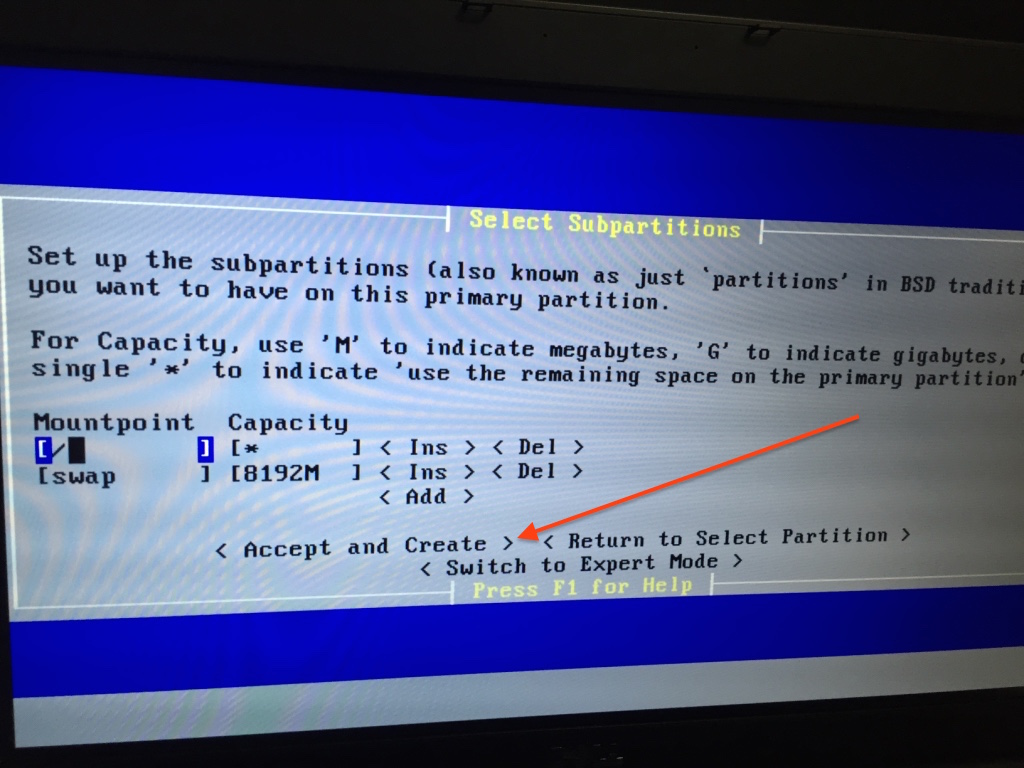
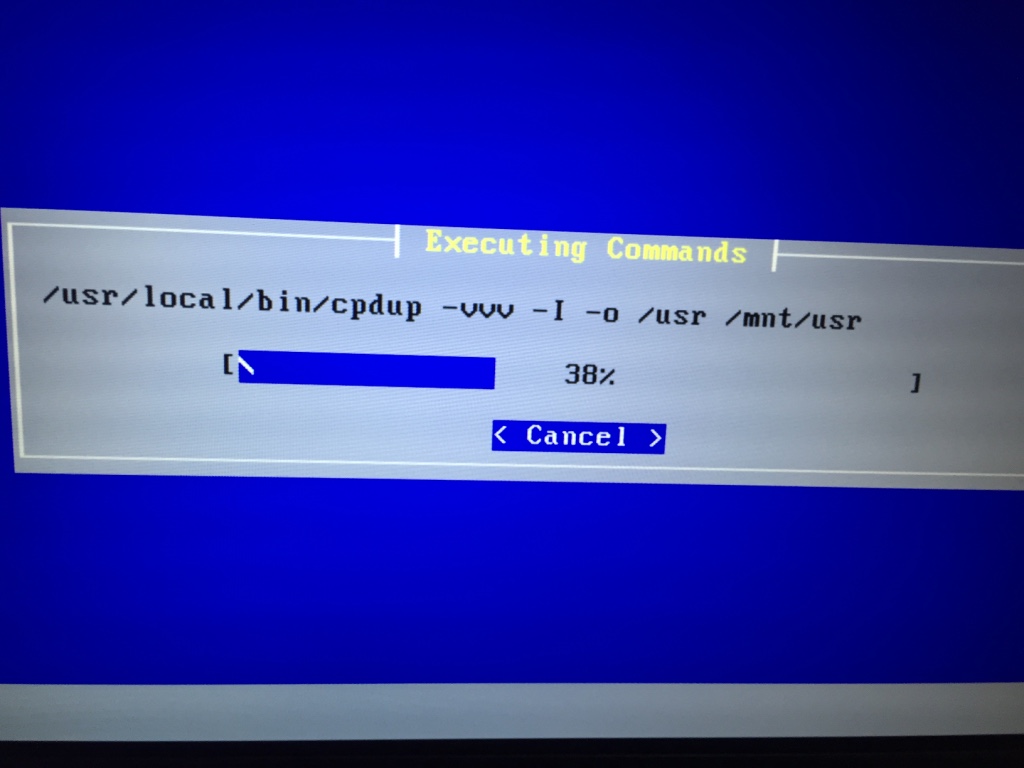
Now, the installer will continue wiping the selected disk WDC and installing pfSense. Copying files may take some time to finish. Feel free to click the following images to see the exact steps:
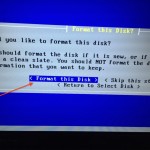

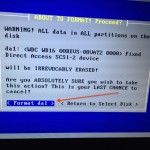
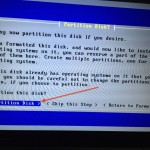
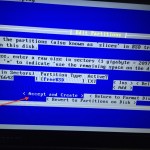
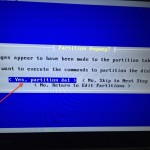
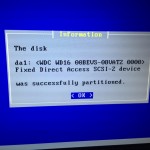
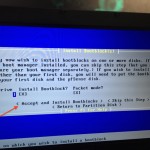
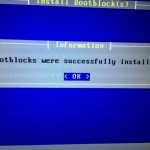
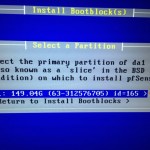
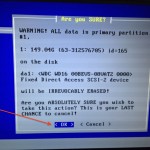
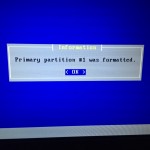
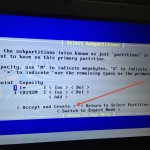
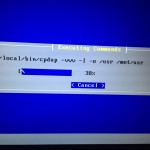
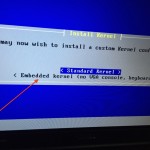
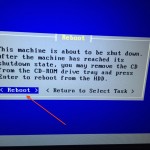
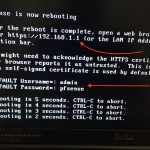
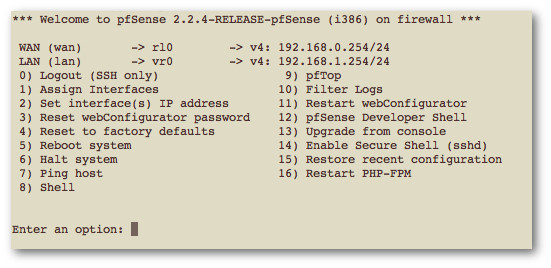 Fig.07: pfSense headless (console) option menu.NOTE: To change the BIOS speed from default to 115200 on the net5501 router:
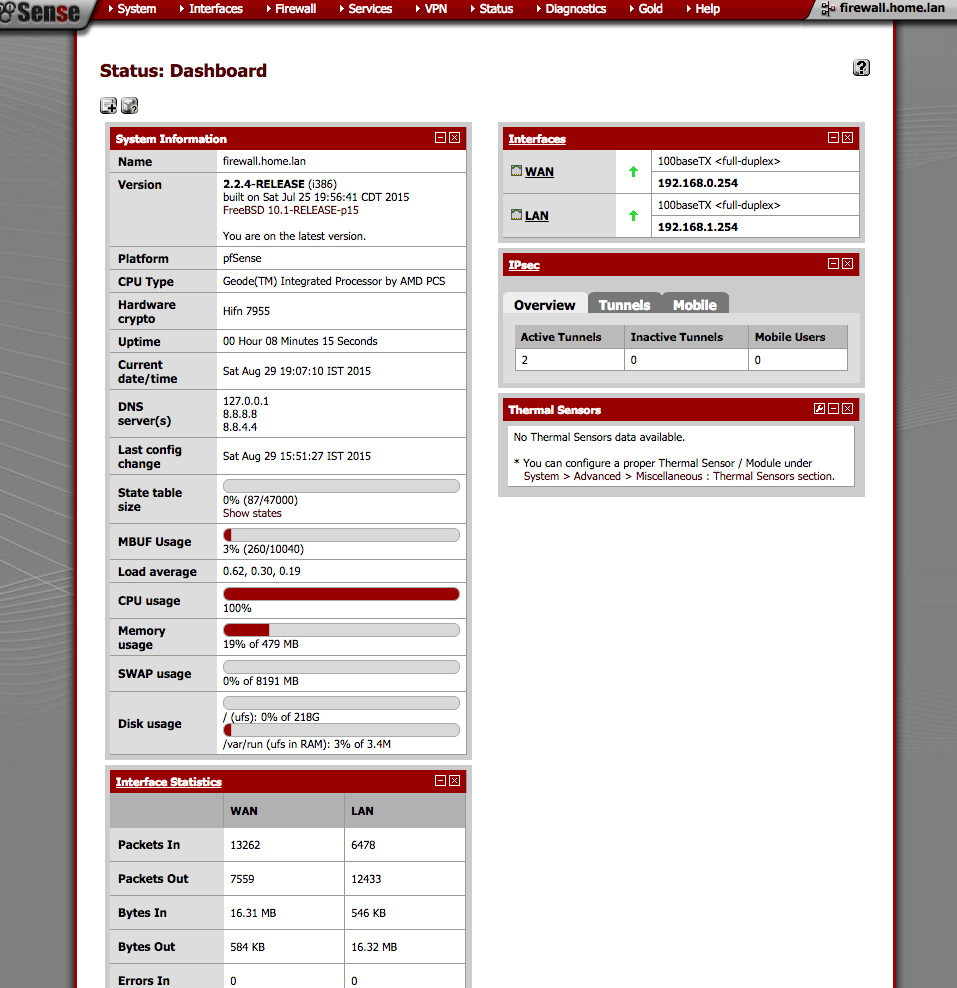
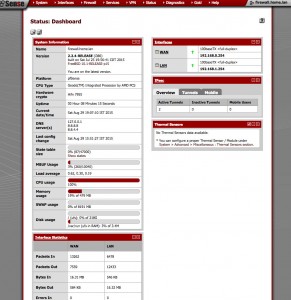 Fig.08: Fully configured and working pfSense setup (click to enlarge)You can use the same technique to install Linux, FreeBSD, OpenBSD or any other operating system on hard disk drive
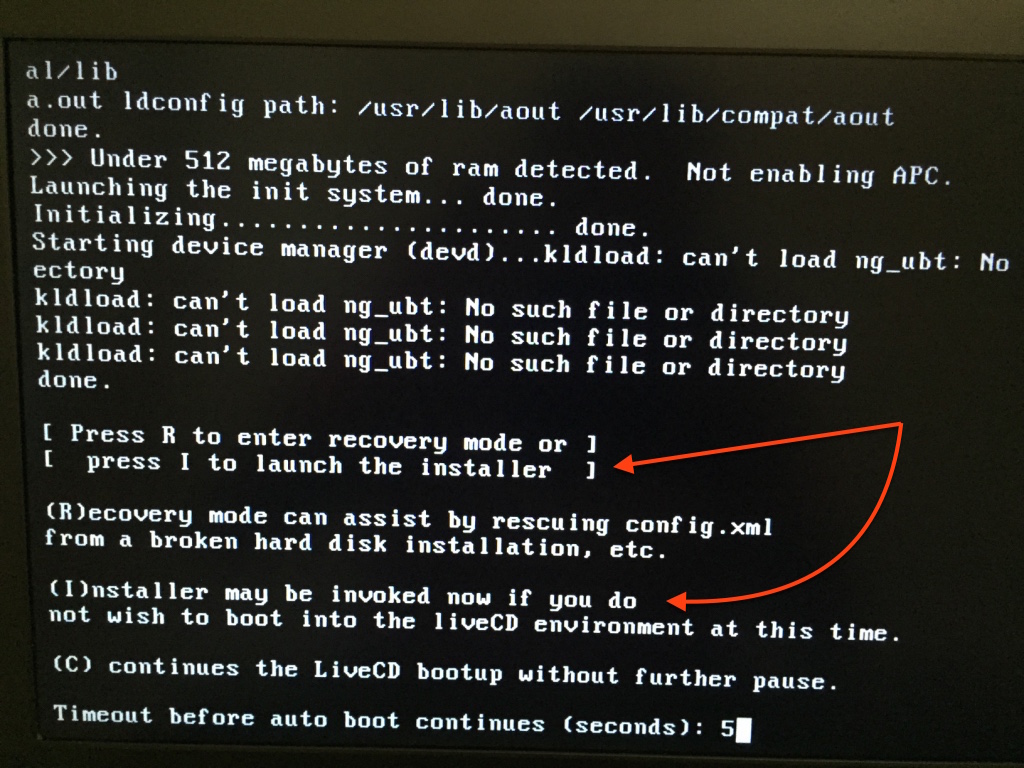


No comments:
Post a Comment